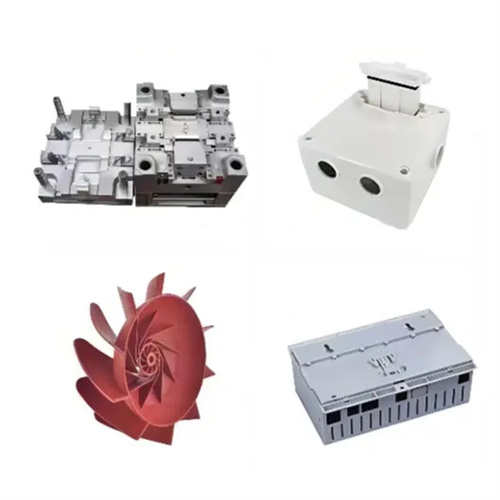
Injection mold management (mold installation) is a critical step before injection molding production, directly impacting production efficiency, product quality, and equipment safety. Scientific mold management ensures that molds are installed quickly and accurately on the injection molding machine, minimizing downtime and reducing the risk of mold and equipment damage. Mold management encompasses the entire process, including mold acceptance inspection, pre-installation preparation, installation process control, commissioning verification, and record archiving. Standardized operating procedures are required to clearly define the responsibilities and requirements of each link and ensure that each step has a clear and defined procedure. Whether installing a new mold for the first time or replacing an old mold, strict adherence to management procedures is essential to avoid production delays or safety incidents caused by improper operation.
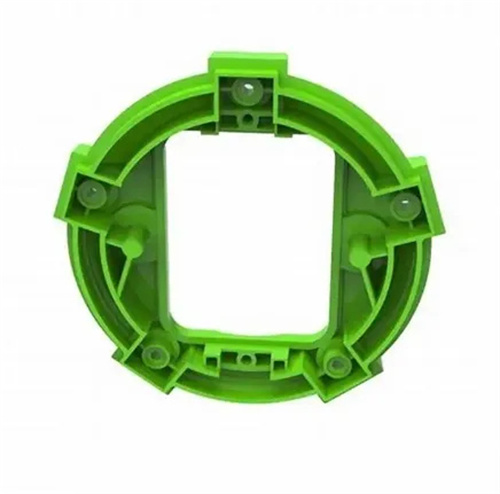
Mold acceptance and inspection are the first steps in mold management, and a comprehensive assessment of the mold’s integrity and performance status is required. When receiving the mold, it is necessary to check whether the mold number and name are consistent with the production plan, and to check whether the mold’s appearance has any damage such as bumps or deformation, especially key parts such as the parting surface, guide pins and guide sleeves. Check the technical information attached to the mold, such as the assembly drawing, cooling water circuit diagram, ejection method, etc., to confirm that it matches the actual mold. Focus on checking the key components of the mold: whether the guide pins and guide sleeves are adequately lubricated and free of wear; whether the ejection mechanism moves smoothly and without jamming; whether the cooling water channel is unobstructed and without blockage; whether the gate sleeve is intact and matches the injection molding machine nozzle. For molds that have been stored for a long time, it is necessary to check whether there is rust and whether the inside of the cavity is clean. Rust removal and cleaning should be carried out if necessary. If the mold is found to be damaged or malfunctioning, it must be promptly reported to the mold maintenance department. The mold can only be arranged after it has been repaired and qualified to avoid installation with defects that affect production.
Pre-installation preparation is essential for ensuring smooth mold placement and requires coordination of resources such as personnel, equipment, and tools. First, confirm that the injection molding machine specifications match the mold, including parameters such as maximum mold capacity, tie-bar spacing, and maximum clamping force. For example, if the mold width is 800mm, a machine with a tie-bar spacing of at least 900mm should be selected. Gather necessary tools and accessories, such as Allen wrenches, a crane, mold retaining rings, pressure plates, bolts, thermal insulation panels, and asbestos rope. Pre-check that the tools are in good condition. Ensure that the bolt specifications match the mold mounting holes (typically M16-M24). Provide pre-job training to operators, clarifying installation procedures and safety precautions. Especially for lifting operations, ensure that operators hold a special equipment operator’s license. Clean the injection molding machine work surface to remove oil, dirt, and debris. Check that the machine’s safety devices (such as safety doors and emergency stop buttons) are sensitive and reliable. Adjust the injection molding machine’s mold capacity according to the mold thickness and pre-adjust the ejection distance to ensure compatibility with the mold’s ejection mechanism. Connect the cooling water in advance and check whether the water pressure (usually 0.3-0.5MPa) and flow rate meet the mold cooling requirements.
Standardized installation procedures are the core of mold management. Strictly following these steps ensures precise mold positioning and secure fixation. First, use a crane to steadily lift the mold onto the injection molding machine’s worktable. Use specialized lifting rings, installed in the mold’s lifting holes, to ensure balanced force and prevent the mold from tilting or colliding. Slowly insert the mold between the injection molding machine’s tie rods. Adjust the mold position so that the mold locating ring fits into the injection molding machine’s locating hole. Ensure the mold center is aligned with the injection molding machine’s nozzle center, with a deviation of no more than 0.1mm. Close the mold and check the parting surfaces for a tight fit. Then, secure the mold to the movable and fixed platens with clamps or bolts. Secure the mold symmetrically (first diagonally, then around the edges) to ensure even force and prevent deformation. The tightening torque for the fixing bolts must meet specifications. For example, the tightening torque for M20 bolts is approximately 300-350N · m . This ensures a secure fit while preventing overload and breakage. Connect the cooling water lines according to the mold water line markings, ensuring the correct inlet and outlet directions. After connection, check for leaks and, if necessary, use sealing tape to strengthen the seal. After installation, manually operate the injection molding machine to slowly open and close the mold. Observe whether the mold moves smoothly, whether there are any abnormal sounds, and whether the ejector mechanism is properly connected to the ejector rod of the injection molding machine.
Post-installation commissioning and verification are crucial to ensuring proper mold operation. Initial settings for mold function and process parameters are necessary. First, conduct a no-load run test, opening and closing the mold 3-5 times continuously. Check the lubrication of the guide pins and bushings, the reset accuracy of the ejector mechanism, and ensure there is no sticking or abnormal wear. Check the patency of the cooling water lines. After turning on the cooling water, observe the smooth flow of water in each branch. Use a flow meter to verify that the flow rate meets design requirements. Based on the mold’s technical data and the plastic’s properties, initially set the injection molding process parameters, including barrel temperature, injection pressure, holding pressure, and cooling time. For example, for a PP mold, the barrel temperature can be initially set to 180-200°C, and the injection pressure 80-100 bar. Perform a test shot to observe whether the melt enters the cavity smoothly and whether there is any leakage. If leakage is detected due to a poor fit between the sprue bushing and the nozzle, adjust the mold position or replace the nozzle. Check the mold’s venting. After the test shot, inspect the part for defects such as missing material and bubbles. Temporarily add venting slots if necessary. During the debugging process, the operating status and process parameters of the mold need to be recorded as a reference for subsequent production.
Recording and maintaining mold installation records is the final step in mold management, providing data support for subsequent production and mold maintenance. Detailed information about mold installation, including mold number, installation date, injection molding machine model, operator, installation duration, any problems encountered, and their resolutions, should be recorded in a “Mold Installation Record Sheet.” Key mold parameters, such as mold capacity, ejection distance, cooling water connection method, and preliminary process parameters, should be archived. After installation is complete, clean the work site, organize tools and auxiliary materials, and return any remaining materials to their designated locations. Perform mold maintenance before the first production run, lubricate moving parts like guide pins and bushings, and check the tightness of bolts to ensure they are not loose. Maintain a mold installation history, recording the time of each mold installation, production batch, and any malfunctions, to provide a basis for preventive mold maintenance. Thorough record-keeping and maintenance will not only improve efficiency during subsequent mold installations, but also extend the mold’s lifespan and reduce production costs.