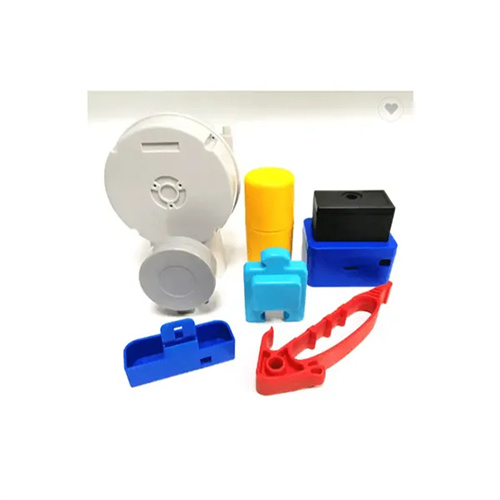
Inner mold insert tapered surface positioning
Conical surface positioning of inner mold inserts is an important structural form in injection molds to ensure the precise fit between inserts and templates. The self-centering effect of the conical surface enables precise positioning of inserts in the mold, effectively improving the mold closing accuracy and the dimensional stability of the molded product. In complex molds, inner mold inserts are often used to mold complex structures or vulnerable parts of the product. Their positioning accuracy directly affects the closing accuracy of the mold cavity. Inaccurate positioning may cause defects such as flash and mold misalignment in the product, and even damage the mold. Compared with traditional plane positioning or cylindrical surface positioning, conical surface positioning has the advantages of high positioning accuracy, strong ability to withstand lateral forces, and convenient installation. It is widely used in high-precision injection molds, such as automotive parts molds and medical device molds.
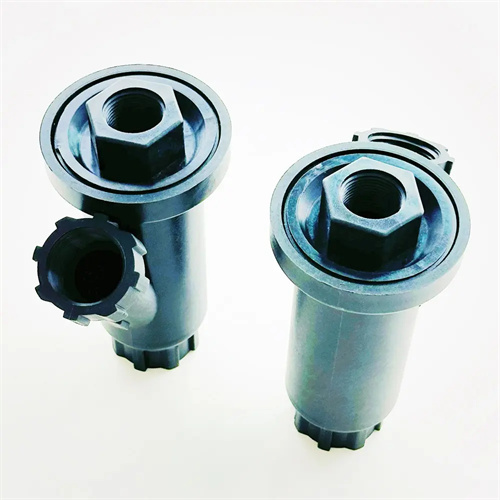
The working principle of the conical surface positioning of inner mold inserts is based on the self-centering properties of the conical surface, utilizing the guiding action of the conical surface to achieve precise alignment between the insert and the mold plate. When the conical surface of the insert mates with the tapered hole of the mold plate, the axial force exerted between the conical surfaces generates a radial positioning force, automatically centering the insert, eliminating radial play and ensuring the relative positioning accuracy between the insert and the mold plate. This positioning method effectively compensates for machining and assembly errors. Even with slight dimensional deviations in the mold plate or insert, the conical surface’s fit allows for high positioning accuracy. Furthermore, the conical surface fit can withstand significant lateral forces. During the injection molding process, lateral pressure generated by the melt filling the mold cavity acts on the insert. The conical surface positioning system, through its wedge-shaped structure, transfers this lateral force to the mold plate, preventing the insert from shifting and ensuring dimensional stability. In contrast, planar positioning systems, which rely primarily on bolted fastening, are less able to withstand significant lateral forces. Cylindrical surface positioning systems, however, have a certain clearance and lower positioning accuracy.
The structural design of a conical positioning system requires comprehensive consideration of parameters such as the taper angle, fit accuracy, and tolerance range to ensure effective positioning and operational reliability. The taper angle is a key parameter influencing positioning performance, with a typical range of 5°-30°. A smaller angle results in a tight fit, making installation difficult and prone to wear. A larger angle reduces self-centering and lateral force bearing capacity. Generally speaking, for applications requiring high positioning accuracy, a taper angle of 10°-15° is appropriate, ensuring good self-centering while facilitating assembly and disassembly. The taper fit accuracy typically adopts tolerances of H7/h6 or H8/h7, and the surface roughness should be controlled below Ra0.8μm to reduce friction and wear during mating. Structurally, the taper length should be sufficient, generally no less than 1/3 of the insert diameter, to ensure sufficient contact area and enhance positioning stability. Furthermore, a transition radius should be designed at the base of the taper to prevent stress concentration that could cause cracking in the insert or formwork.
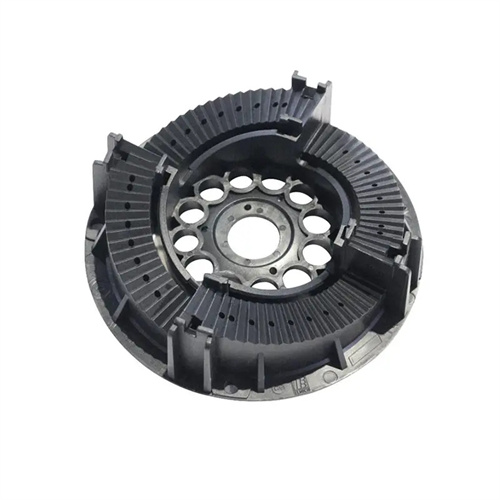
The machining process for the tapered surfaces of the inner mold insert and the mold plate directly impacts positioning accuracy, requiring high-precision machining equipment and appropriate process methods. The insert’s tapered surface is typically machined using a CNC lathe or grinder. For hard materials (such as quenched alloy tool steel), rough machining and heat treatment are performed before precision grinding to ensure the tapered surface’s angular tolerance and dimensional accuracy. The mold plate’s tapered hole can be machined using a boring machine or machining center, using specialized tools for boring or milling, followed by grinding to ensure perpendicularity and coaxiality between the hole and the mold plate. During machining, tools such as angle rulers and taper gauges are used to ensure that the tapered surface’s angular error does not exceed ±0.05° and the dimensional tolerance is controlled within ±0.01mm. For paired tapered components, a matching grinding process is recommended: the mold plate’s tapered hole is machined first, and then the insert’s tapered surface is machined to the actual dimensions of the hole to ensure a perfect fit. Furthermore, the tapered surface should be deburred after machining to prevent scratches on the mating surface during assembly.
The installation and maintenance of the inner mold insert’s tapered surface positioning must adhere to specific specifications to ensure long-term stable operation. During installation, clean the tapered surfaces of the insert and the mold plate to remove surface impurities such as oil, iron filings, and other impurities to prevent compromising fit. For small inserts, manually place them into the tapered hole and gently tap the insert’s end face to ensure the tapered surface is aligned. For large or heavy inserts, use a lifting device to assist in installation, slowly lowering them while applying even axial force to ensure uniform contact between the tapered surfaces. After installation, check the fit between the insert’s end face and the mold plate. Use a feeler gauge to check the clearance and ensure it is no greater than 0.01mm. Regularly inspect the tapered surface for wear during use. If looseness or scratches are detected, repair or replace the insert promptly. During repair, the tapered surface may be reground, but the amount of grinding must be controlled to avoid affecting the insert’s overall dimensions. For molds that are not used for an extended period, remove the insert, clean it, apply anti-rust oil, and store it separately to prevent rust and galling of the tapered surface. In addition, when repairing the mold or replacing the inserts, it is necessary to ensure that the cone surface parameters of the new inserts are consistent with the original design to avoid a decrease in positioning accuracy due to parameter mismatch.
